M4 Sherman
Medium Tank · USA
Quick, reliable and everywhere. The gyro-stabilised 75 shoots well on the move and its HE is excellent, but its AP struggles against heavy armour from the front: flank, and work as a pack.
(the vehicle's description in the garage)
At a glance
| Nation | USA |
| Role | Medium tank (MT) |
| Modelled variant | M4 Sherman (75 mm gun M3 in the M34A1 mount), welded hull, mid production 1943-44 |
| Price | 675 credits |
| Team stock | 3 per five-player team (scales with team size) |
| Hit points | 990 |
| Main gun | 280 damage per AP shot, 4.6 s reload |
| Speed | 38.6 km/h on roads, 18.1 km/h off-road |
| View range | 230 m |
| Ability (B) | Artillery |
| Garage ratings | Armour 3/10 · Firepower 5/10 · Mobility 8/10 · Spotting 7/10 |
History
The Medium Tank M4 Sherman was the backbone of the US Army and, through Lend-Lease, of the British and other Allied armies. Around 49,000 were built from 1942 to 1945 across many factories and sub-variants. It was not the most heavily armed or armoured tank of the war, but it was reliable, easy to maintain, quick to repair and available in huge numbers. Its 75 mm M3 gun fired a very good high-explosive shell, and a gyro-stabiliser helped the gunner keep the gun on target while moving.
The Sherman first fought with the British at El Alamein in late 1942 and with US forces in Tunisia, including the Kasserine Pass battles of February 1943. By 1944 its 75 mm gun struggled against the front of the Panther and Tiger, which led to the 76 mm Shermans and the British Firefly. The game's Sherman is a welded-hull, mid production M4 with the 75 mm gun in the M34A1 mount, the type the US 4th Armored Division took to Arracourt and the 10th Armored took to Bastogne in 1944.
In Armor Heads
Compared with the other 34 WW2 vehicles, it is top 5 for turret / gun traverse speed (#2 of 35).
Survivability
- Hit points: 990. Damage taken multiplier: 1.02 (effective HP 971).
- Tracks: a hit on the running gear breaks a track 45 % of the time (the hit does no damage); the crew repairs it in 6 s.
| Zone | Real plate | Damage multiplier (lower = thicker) | Raw shell damage to destroy through this zone | AP of the other 34 vehicles that gets through |
|---|---|---|---|---|
| Hull front | 51 mm at 56° (91 mm) | 0.62 | 978 | 18 |
| Hull side | 38 mm | 0.92 | 659 | 33 |
| Hull rear | 38 mm at 10° (39 mm) | 0.92 | 659 | 33 |
| Roof | 19 mm | 1.26 | 481 | 34 |
| Turret front | 76 mm at 30° (88 mm) | 0.63 | 963 | 18 |
| Turret side | 51 mm at 5° (51 mm) | 0.81 | 749 | 30 |
| Turret rear | 51 mm | 0.81 | 749 | 30 |
Real plate: the thickness of the real vehicle's armour there, and its slope from vertical with the line-of-sight thickness in brackets; each zone's multiplier is worked out from it (see how the numbers work). The last column counts square-on hits under 100 m.
Main gun
- Mount: turret, 360° traverse at 36°/s.
- Elevation +25° / depression -10°, at 24°/s.
- Reload: 4.6 s.
- Damage per minute (AP): 3,652.
- Accuracy: 0.08° dispersion when settled, aim time 1.52 s, move bloom 0.036.
- Gunner's sight: M70F, 1.44x / 3x (binoculars 6x / 10x / 15x).
| Shell | Type | Damage | Splash | Blast radius | Muzzle velocity | Penetration threshold | Rounds | Crew shock |
|---|---|---|---|---|---|---|---|---|
| Armour Piercing | AP | 280 | 20 | 2.5 m | 619 m/s | 0.66 | 32 | - |
| High Explosive | HE | 182 | 140 | 6.5 m | 604 m/s | 1 | 16 | 1 |
The penetration threshold is the lowest zone multiplier (the thickest armour) the shell still gets through: zones below it stop the shell (10 % damage for AP, 20 % for HE). See how the numbers work.
HE and the crew: every direct hit shakes the crew (slower reload and traverse, a wider aim circle) for about 1.9 s when the plate stops it and 3 s when it bursts through. It is big enough to knock crew members out of their seats even when the plate stops it.
Matchups (AP against the hull front, square-on, under 100 m)
- Its AP gets through the hull front of 19 of the other 34 vehicles. It is stopped by: Tiger I, Panther, T-34/76, T-34-85, Sherman Firefly, M26 Pershing, Tiger II, IS-2, Churchill VII, KV-1, SU-100, Jagdpanther, ISU-152, M32 TRV, Jagdpanzer 38 Hetzer.
- 18 of the other 34 vehicles' AP get through its hull front. Safe from the front against: M3A1 Stuart, Panzer II Luchs, Panzer III Ausf. L, T-34/76, Cromwell, Churchill VII, KV-1, M32 TRV, M24 Chaffee, Sd.Kfz. 250/9, T-70M, T-60, SU-76M, M3 Lee, 75 mm GMC M3, Stuart V "Honey".
- From the side, 33 of them get through its hull side; from behind, 33 get through its hull rear (every zone is in the table above).
Secondary weapons and equipment
- Roof machine gun: .50 cal (M2 Browning), the vehicle's own modelled gun on its turret, 9 rounds/s, 2.5 damage per round, overheats after 48 rounds. It elevates to 70° and can shoot down recon planes.
- Smoke: 2 salvos, each recharges in 40 s.
Mobility
- Running gear: tracks (pivot turns).
- Top speed 38.6 km/h on roads, 18.1 km/h off-road (47 %), reverse 5 km/h, acceleration 3.3 m/s².
- Turn rate 33°/s (20°/s at top speed). Mass 30,300 kg. Engine start 2.5 s.
Special ability (B)
Artillery: an eight-shell barrage on any point within 1,000 m, 8 s after red smoke marks it; the shells hit tank roofs and wreck buildings. Ready 90 s after the round goes live, once per round; another use costs 400 credits.
Where it appears
Players can take it on all seven WW2 maps, on either team. The AI fields it on:
- Arracourt 1944, Blue (Allied side): 4x in an 8-vehicle line-up (first at position 1).
- Bastogne 1944, Blue (Allied side): 3x in an 8-vehicle line-up (first at position 1).
- Kasserine Pass 1943, Blue (Allied side): 2x in an 8-vehicle line-up (first at position 1).
- Villers-Bocage 1944, Blue (Allied side): 1x in an 8-vehicle line-up (first at position 6).
Where it ranks (1 = best of 35)
| Stat | Rank |
|---|---|
| Hit points | 13 |
| Effective HP | 13 |
| Hull front armour (lower multiplier = thicker) | 11 |
| Turret front armour | 12 |
| Road speed | 26 |
| Off-road speed | 24 |
| Shot damage (AP) | 18 |
| Damage per minute | 10 |
| Reload (shortest first) | 13 |
| Accuracy (smallest dispersion first) | 27 |
| Aim time (fastest first) | 9 |
| Turret / gun traverse speed | 2 |
| View range | 12 |
| AP penetration (lower threshold = goes through more) | 21 |
| Price (1 = most expensive) | 16 |
The real vehicle
| Variant | M4 Sherman (75 mm gun M3 in the M34A1 mount), welded hull, mid production 1943-44 |
| Length with gun | 5.893 m |
| Hull length | 5.893 m |
| Width | 2.616 m |
| Height | 2.845 m |
Sources used for the model: TM 9-2800 (Standard Military Motor Vehicles, 1943) Tank, Medium, M4: length 232 in, width 103 in (over the sponsons; 100 1/8 in over the tracks), ground contact 147 in, track 16 9/16 in, ground clearance 17 3/8 in; height 112 in (M4A1 / M4A3 sheets, to the top of the commander's hatch periscope; the M4 sheet's 116 in is the 105 mm How. with the vision cupola). TM 9-731A (M4 and M4A1): tread 83 in, width 8 ft 7 in, height 8 ft 9 in to the turret roof. The 75 mm muzzle sits at the hull front, so length with gun = hull length. Model width includes the 1 in applique plates on the sponsons (+5 cm).
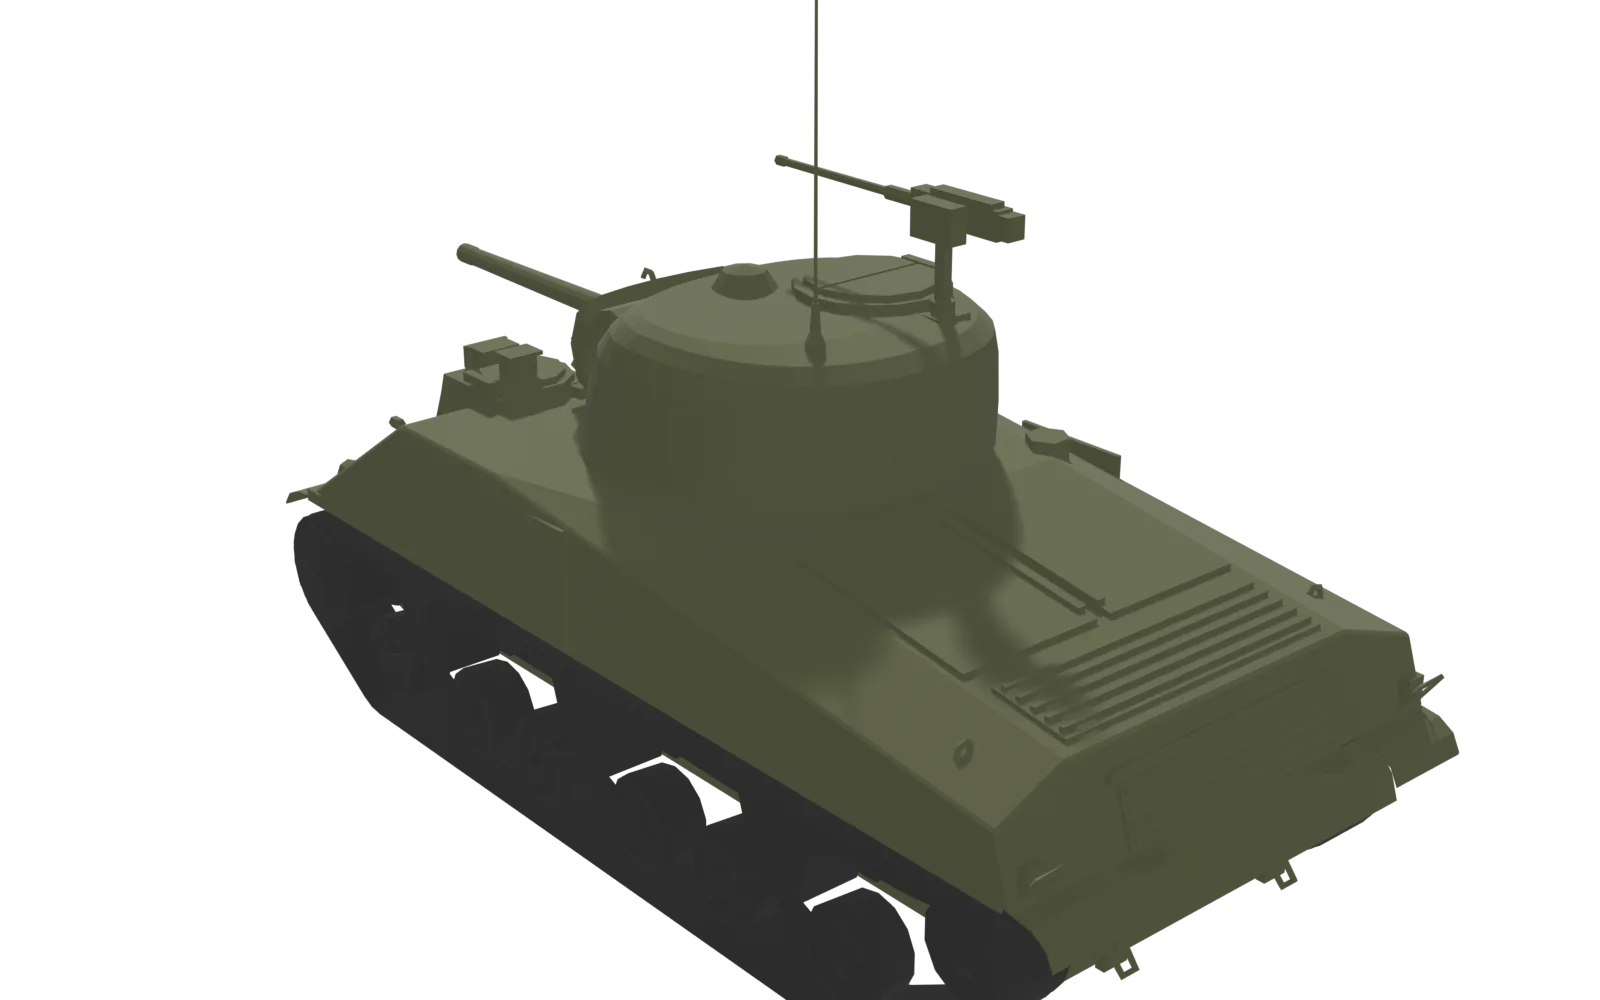
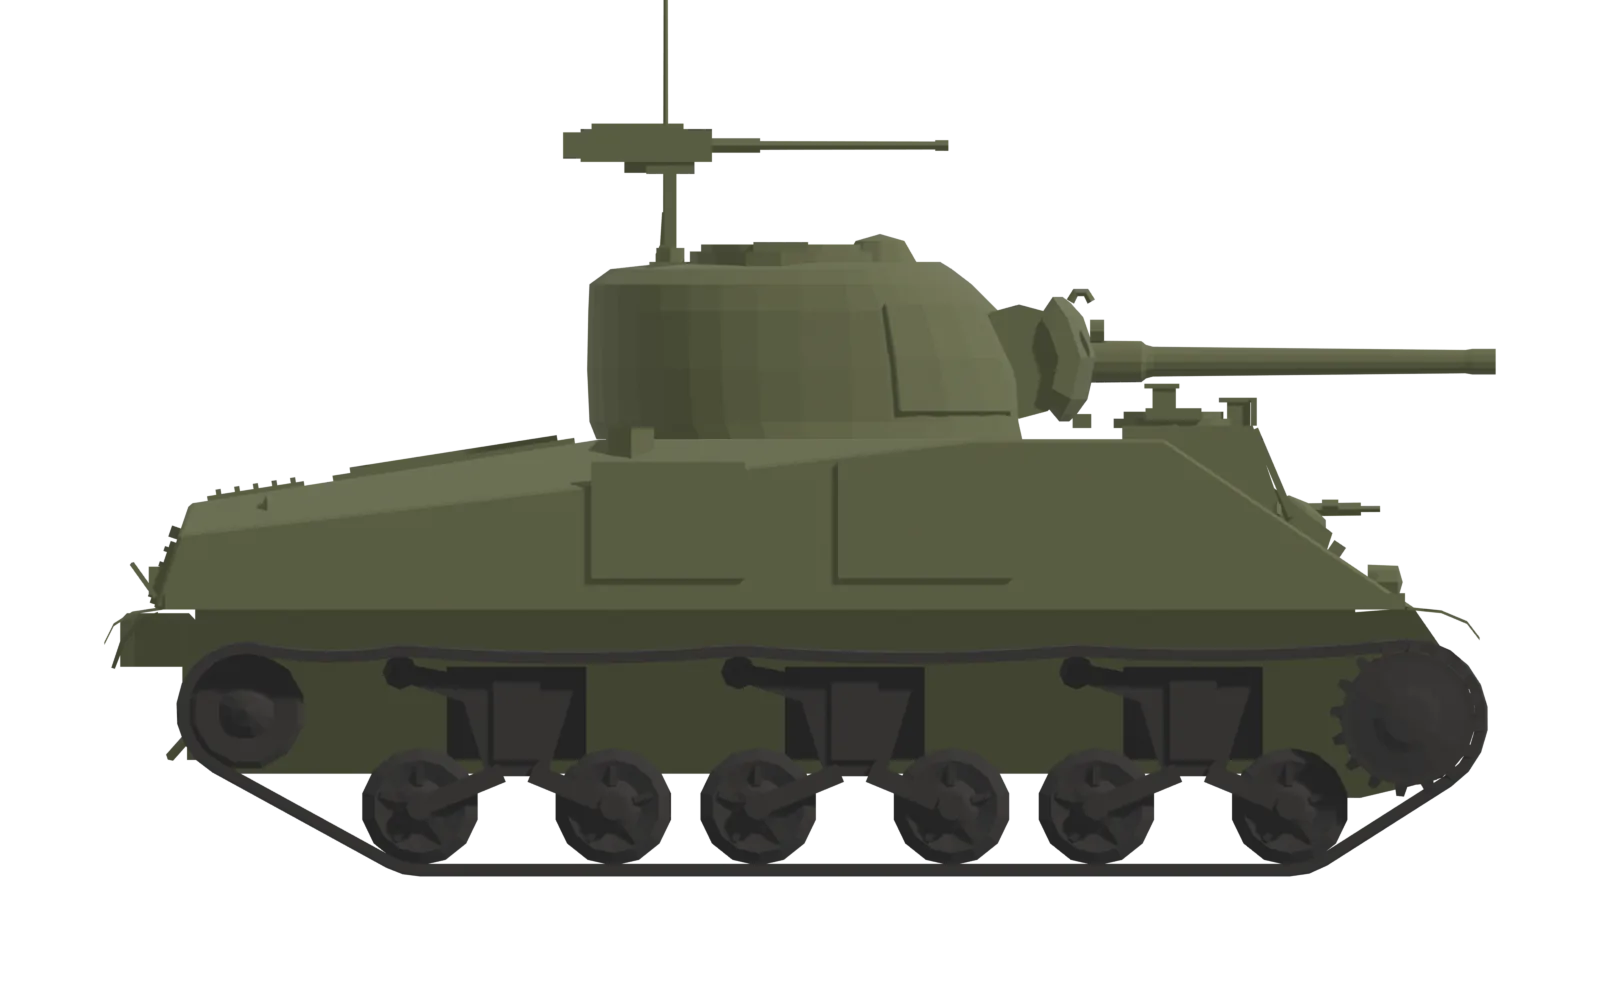
In-game model: 5.97 m long (gun included) × 2.67 m wide × 3.23 m high (antenna excluded), 9,362 triangles, built at true scale.
Images
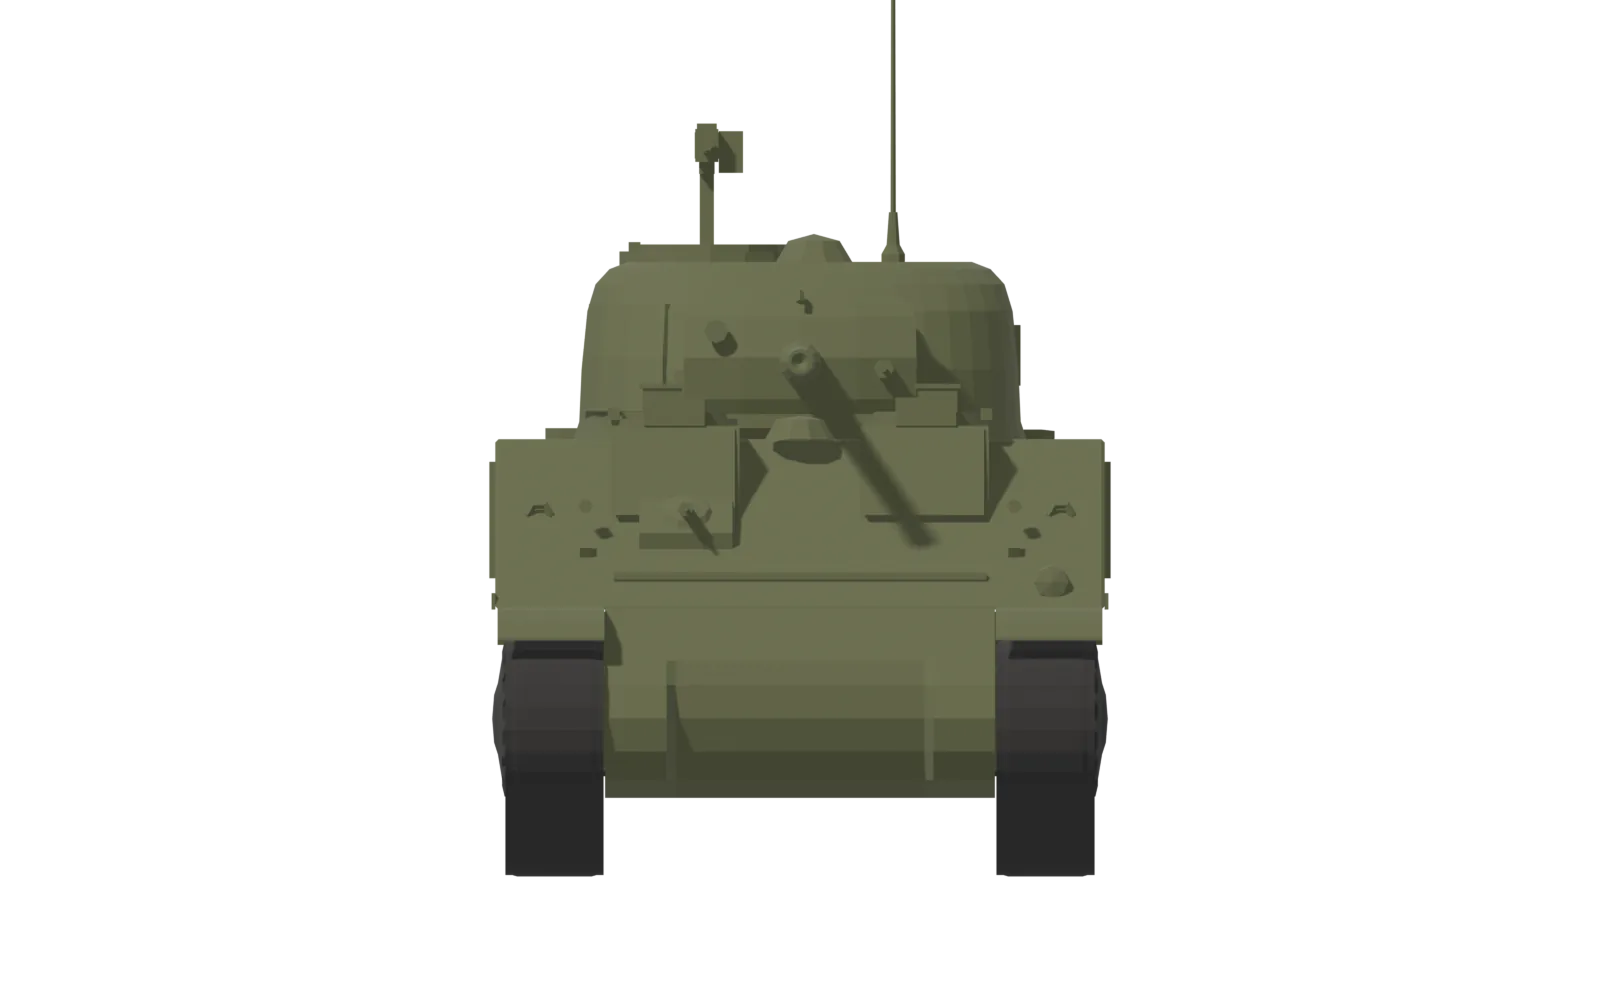
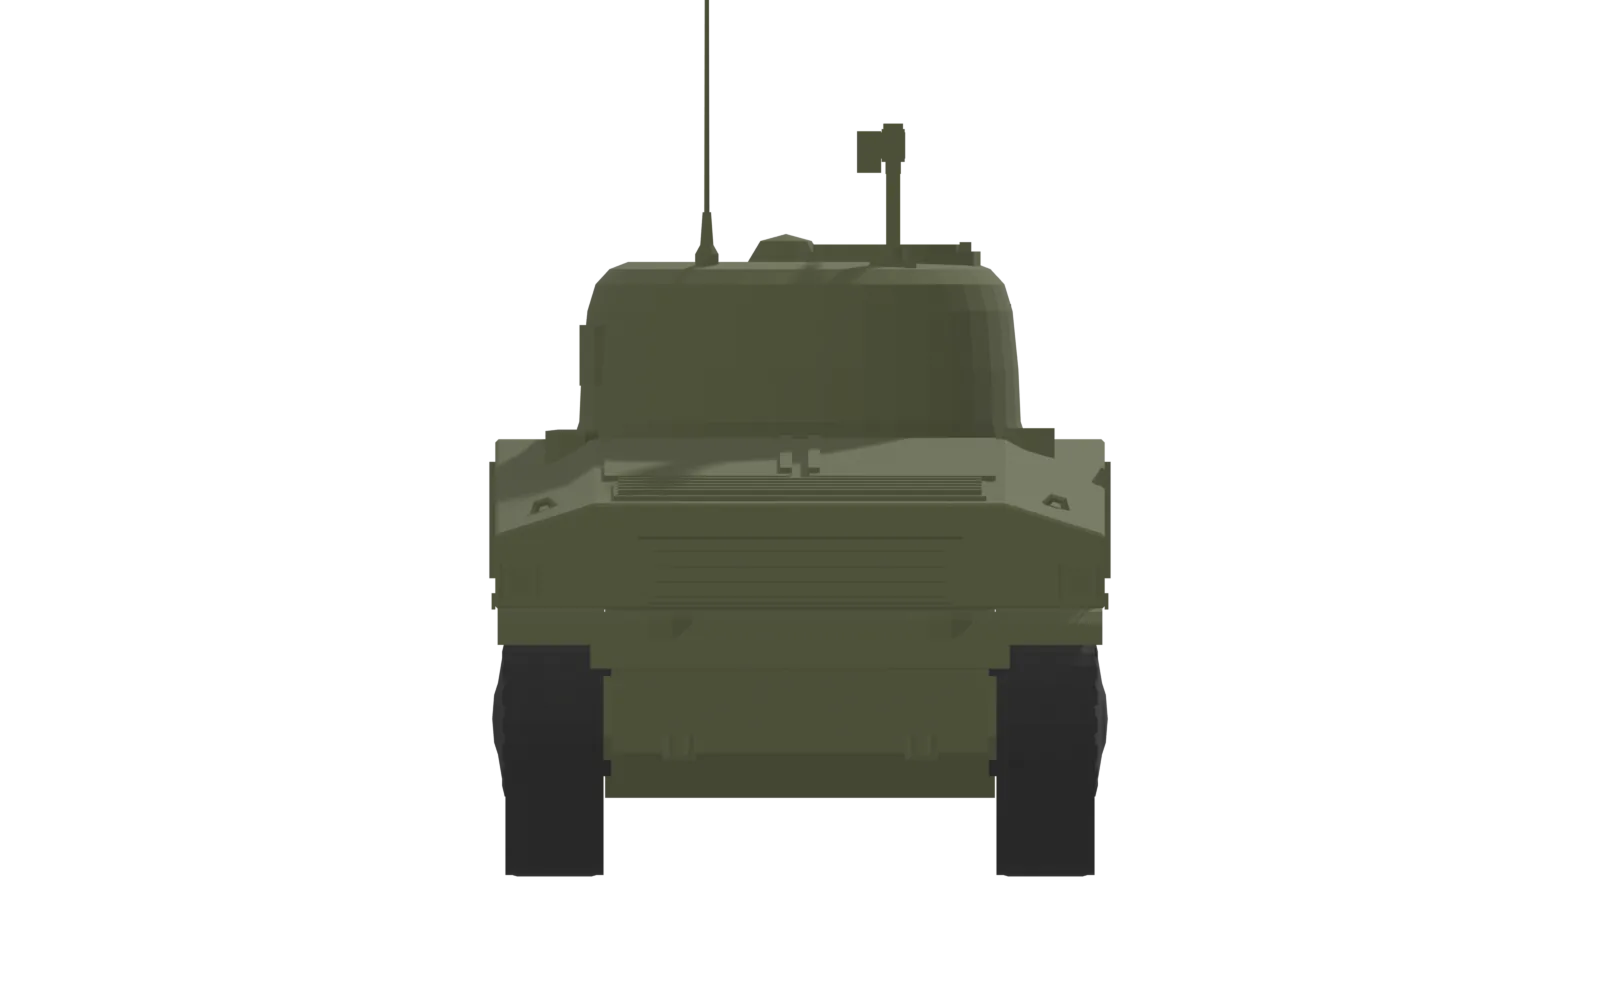
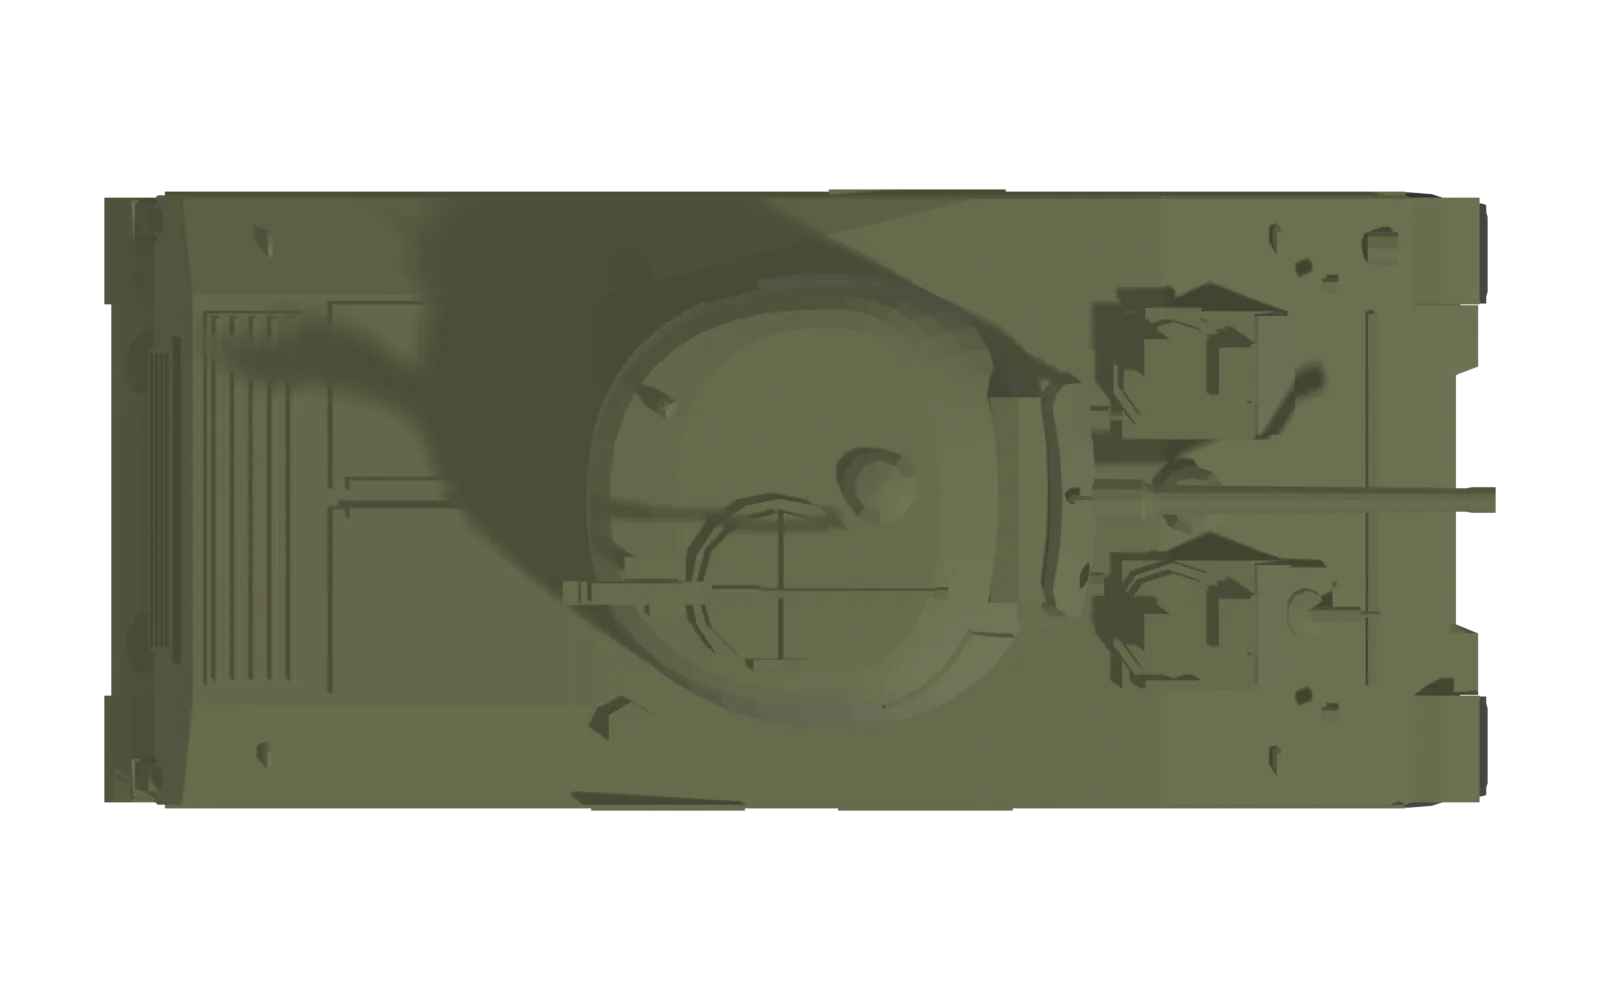
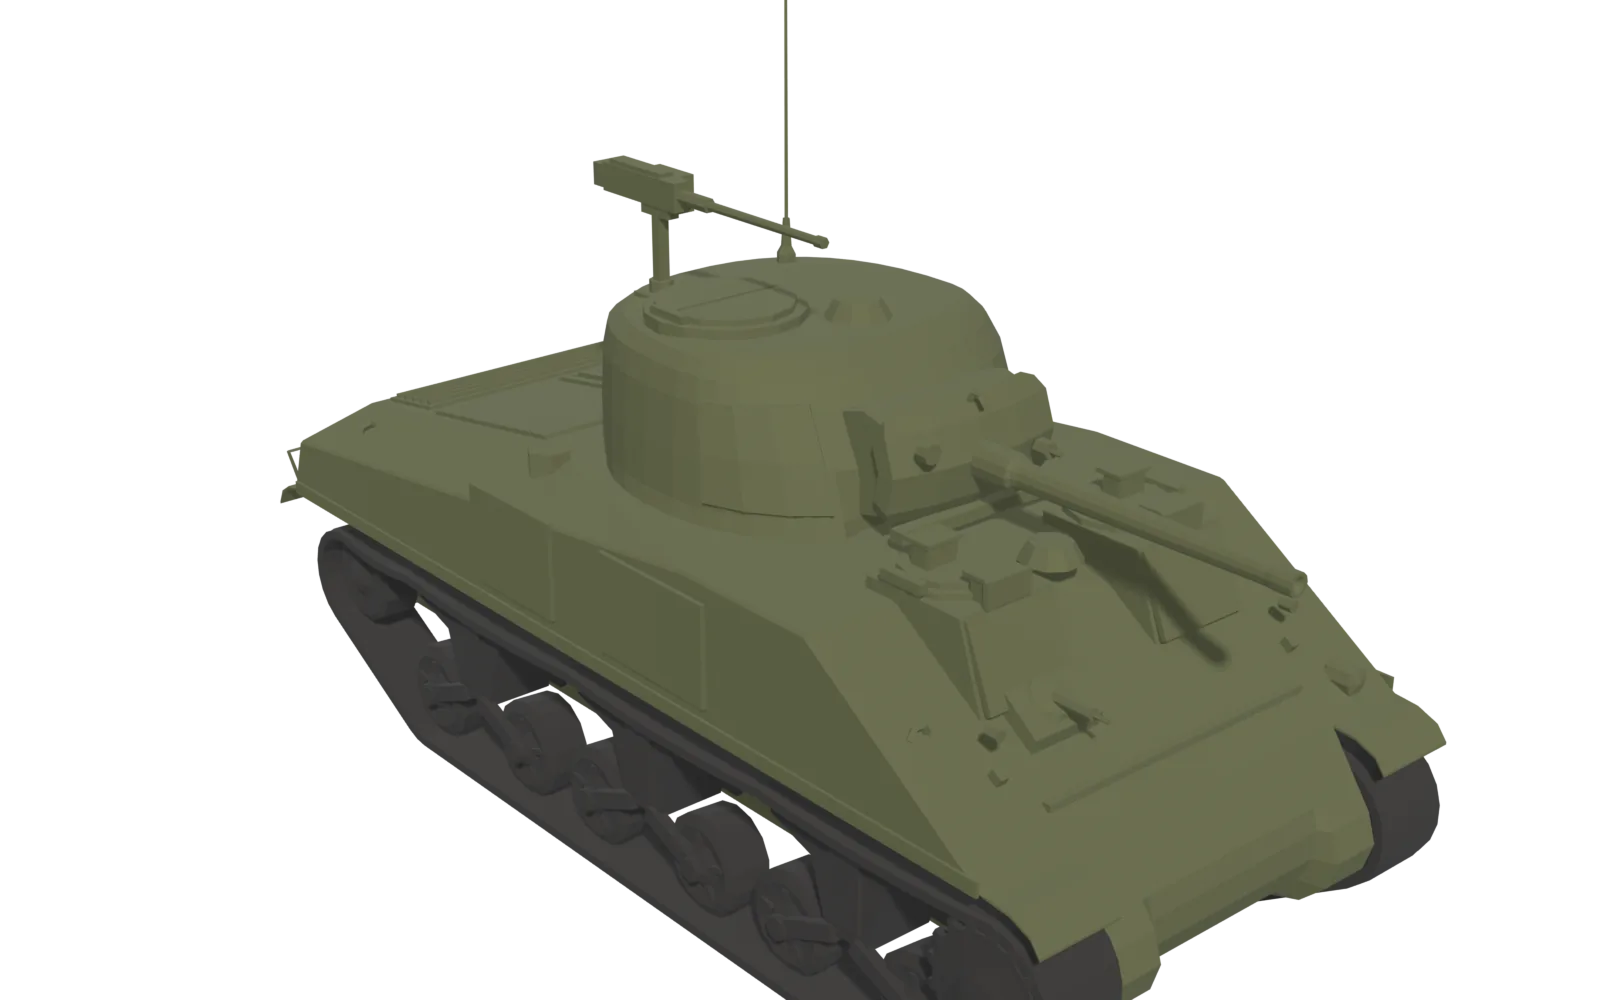
Renders of the in-game model in a plain nation colour (the game paints its camouflage at runtime).