M26 Pershing
Heavy Tank · USA
The US answer to the Tiger: a 90 mm gun, a thick sloped front and a fast power traverse. It is slow off the mark; keep the front towards the fight and let the gun work.
(the vehicle's description in the garage)
At a glance
| Nation | USA |
| Role | Heavy tank (HT) |
| Modelled variant | M26 Pershing |
| Price | 930 credits |
| Team stock | 1 per five-player team (scales with team size) |
| Hit points | 1230 |
| Main gun | 340 damage per AP shot, 6.9 s reload |
| Speed | 40.2 km/h on roads, 18.9 km/h off-road |
| View range | 200 m |
| Ability (B) | Artillery |
| Garage ratings | Armour 4/10 · Firepower 5/10 · Mobility 8/10 · Spotting 6/10 |
History
The M26 Pershing was the US Army's first heavy tank of the war to see combat, later reclassified as a medium. It carried a 90 mm gun and heavy frontal armour on a torsion-bar suspension. Delays in development meant only about twenty reached Europe in February 1945, with more following before VE-Day.
Pershings fought in the last months of the war, most famously at Cologne and in capturing the Ludendorff Bridge at Remagen. They were the closest American match for the Tiger and Panther. The game includes the M26 as the US heavy tank; it is not part of any map's AI line-up because it arrived after the battles the maps depict.
In Armor Heads
Compared with the other 34 WW2 vehicles, it is top 5 for hull front armour (#4 of 35); top 5 for turret front armour (#5 of 35); top 5 for shot damage (#4 of 35); top 5 for turret / gun traverse speed (#5 of 35); bottom 5 for view range (#31 of 35).
Survivability
- Hit points: 1230. Damage taken multiplier: 0.92 (effective HP 1337).
- Tracks: a hit on the running gear breaks a track 60 % of the time (the hit does no damage); the crew repairs it in 16 s.
| Zone | Real plate | Damage multiplier (lower = thicker) | Raw shell damage to destroy through this zone | AP of the other 34 vehicles that gets through |
|---|---|---|---|---|
| Hull front | 102 mm at 46° (147 mm) | 0.5 | 1,671 | 9 |
| Hull side | 76 mm | 0.68 | 1,229 | 26 |
| Hull rear | 51 mm at 10° (52 mm) | 0.8 | 1,044 | 30 |
| Roof | 22 mm | 1.18 | 708 | 34 |
| Turret front | 114 mm | 0.56 | 1,492 | 17 |
| Turret side | 76 mm at 4° (76 mm) | 0.67 | 1,247 | 25 |
| Turret rear | 76 mm at 3° (76 mm) | 0.67 | 1,247 | 25 |
Real plate: the thickness of the real vehicle's armour there, and its slope from vertical with the line-of-sight thickness in brackets; each zone's multiplier is worked out from it (see how the numbers work). The last column counts square-on hits under 100 m.
Main gun
- Mount: turret, 360° traverse at 36°/s.
- Elevation +20° / depression -10°, at 14°/s.
- Reload: 6.9 s.
- Damage per minute (AP): 2,957.
- Accuracy: 0.065° dispersion when settled, aim time 1.68 s, move bloom 0.045.
- Gunner's sight: M71C, 4x (binoculars 6x / 10x / 15x).
| Shell | Type | Damage | Splash | Blast radius | Muzzle velocity | Penetration threshold | Rounds | Crew shock |
|---|---|---|---|---|---|---|---|---|
| Heavy Armour Piercing | AP | 340 | 30 | 3 m | 853 m/s | 0.47 | 23 | - |
| Heavy High Explosive | HE | 221 | 170 | 6.5 m | 823 m/s | 0.824 | 12 | 1.21 |
| 90 mm M304 HVAP | HVAP | 255 | 15 | 3 m | 1021 m/s | 0.28 | bought (key 3) | - |
The penetration threshold is the lowest zone multiplier (the thickest armour) the shell still gets through: zones below it stop the shell (10 % damage for AP, 20 % for HE). See how the numbers work.
HE and the crew: every direct hit shakes the crew (slower reload and traverse, a wider aim circle) for about 2 s when the plate stops it and 3 s when it bursts through. It is big enough to knock crew members out of their seats even when the plate stops it.
HVAP (90 mm M304 HVAP) is bought in the garage, not issued: 3 rounds for 200 credits, at most 6 carried, from a team stock of 3 per player for the whole match (never resupplied). It gets through far thicker plate than the AP up close but loses its punch quickly with range:
| Range | AP needs | HVAP needs | AP damage | HVAP damage |
|---|---|---|---|---|
| 100 m | 0.47 | 0.28 | 340 | 255 |
| 300 m | 0.47 | 0.35 | 313 | 204 |
| 500 m | 0.47 | 0.47 | 286 | 153 |
| 700 m | 0.47 | 0.56 | 272 | 128 |
Matchups (AP against the hull front, square-on, under 100 m)
- Its AP gets through the hull front of 32 of the other 34 vehicles. It is stopped by: Tiger II, IS-2.
- 9 of the other 34 vehicles' AP get through its hull front. Safe from the front against: M4 Sherman, M3A1 Stuart, Panzer II Luchs, Panzer III Ausf. L, T-34/76, T-34-85, Panzer IV Ausf. H, Cromwell, Churchill VII, KV-1, M10 Wolverine, M18 Hellcat, StuG III Ausf. G, ISU-152, M32 TRV, M24 Chaffee, Sd.Kfz. 250/9, T-70M, T-60, Marder III, SU-76M, Jagdpanzer 38 Hetzer, M3 Lee, 75 mm GMC M3, Stuart V "Honey".
- From the side, 26 of them get through its hull side; from behind, 30 get through its hull rear (every zone is in the table above).
Secondary weapons and equipment
- Roof machine gun: .50 cal (M2 Browning), the vehicle's own modelled gun on its turret, 9 rounds/s, 2.5 damage per round, overheats after 48 rounds. It elevates to 70° and can shoot down recon planes.
- Smoke: 1 salvo, each recharges in 60 s.
Mobility
- Running gear: tracks (pivot turns).
- Top speed 40.2 km/h on roads, 18.9 km/h off-road (47 %), reverse 8 km/h, acceleration 2.7 m/s².
- Turn rate 28°/s (17°/s at top speed). Mass 41,900 kg. Engine start 4.5 s.
Special ability (B)
Artillery: an eight-shell barrage on any point within 1,000 m, 8 s after red smoke marks it; the shells hit tank roofs and wreck buildings. Ready 90 s after the round goes live, once per round; another use costs 400 credits.
Where it appears
Players can take it on all seven WW2 maps, on either team. It is not in any map's AI line-up (it did not fight in the battles the maps depict).
Where it ranks (1 = best of 35)
| Stat | Rank |
|---|---|
| Hit points | 6 |
| Effective HP | 6 |
| Hull front armour (lower multiplier = thicker) | 4 |
| Turret front armour | 5 |
| Road speed | 22 |
| Off-road speed | 22 |
| Shot damage (AP) | 4 |
| Damage per minute | 20 |
| Reload (shortest first) | 25 |
| Accuracy (smallest dispersion first) | 13 |
| Aim time (fastest first) | 19 |
| Turret / gun traverse speed | 5 |
| View range | 31 |
| AP penetration (lower threshold = goes through more) | 6 |
| Price (1 = most expensive) | 6 |
The real vehicle
| Variant | M26 Pershing |
| Length with gun | 8.65 m |
| Hull length | 6.33 m |
| Width | 3.51 m |
| Height | 2.78 m |
Sources used for the model: Wikipedia M26 Pershing (8.649 m gun forward, 6.337 m hull, 3.51 m wide, 2.781 m high, 24 in track) https://en.wikipedia.org/wiki/M26_Pershing ; blueprints the-blueprints.com T26E3/M26 (62960) and M26 (72177), historyofwar.org M26 plans (wheel spacing, turret position, plan shape)
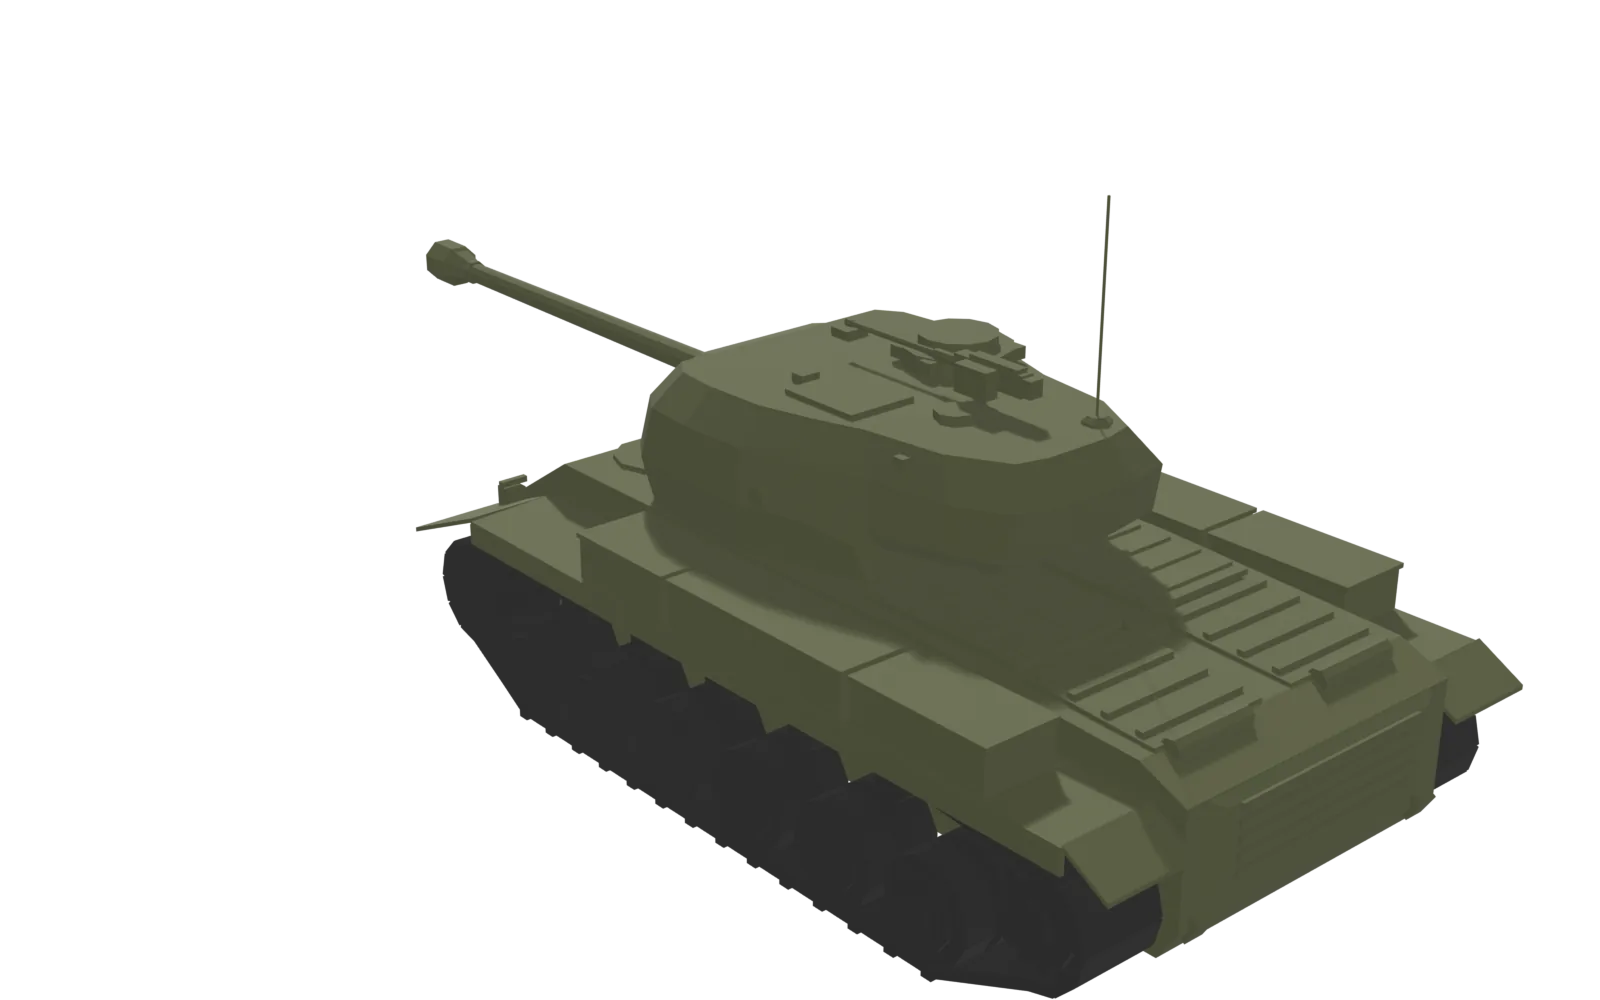
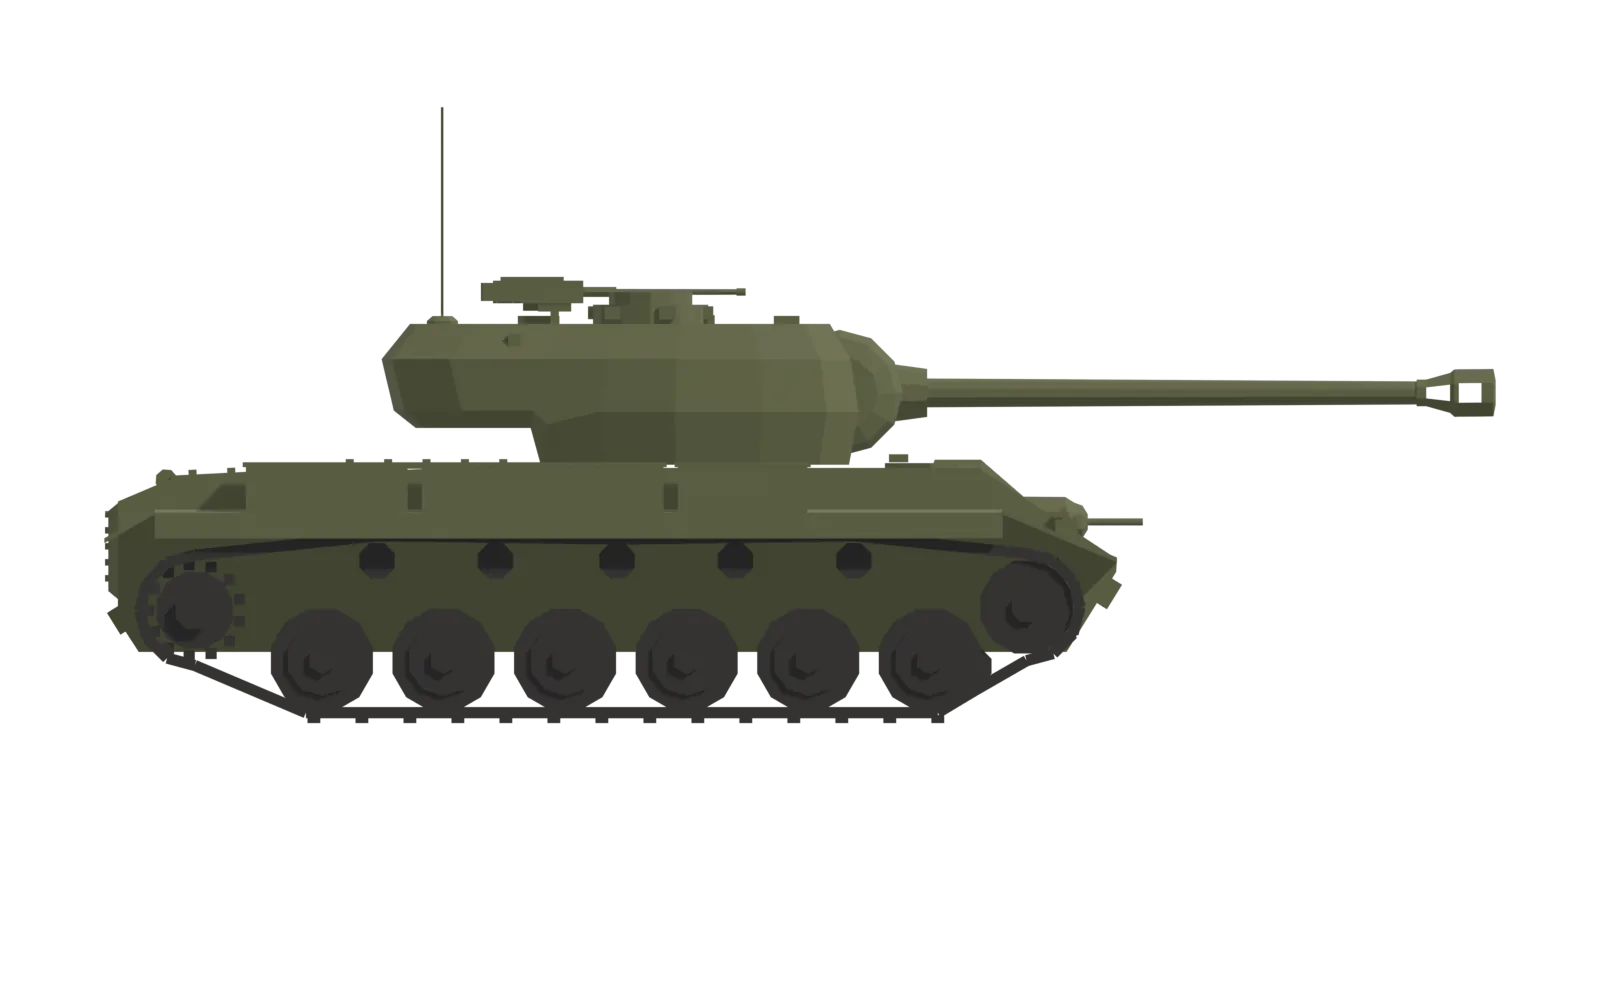
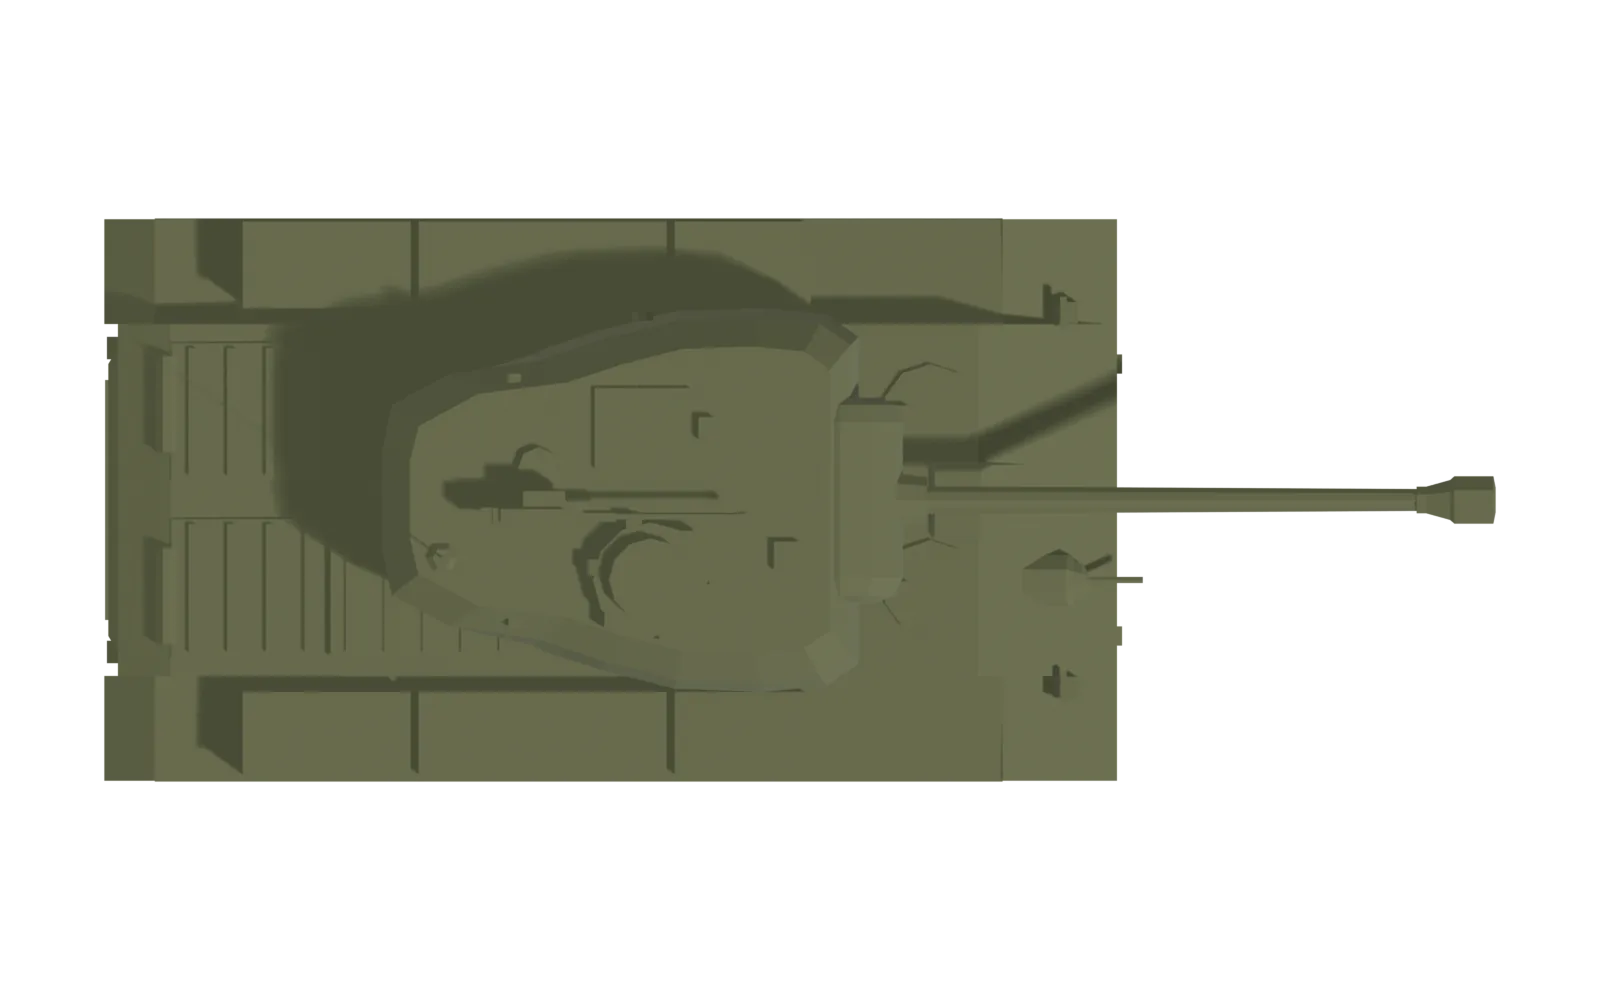
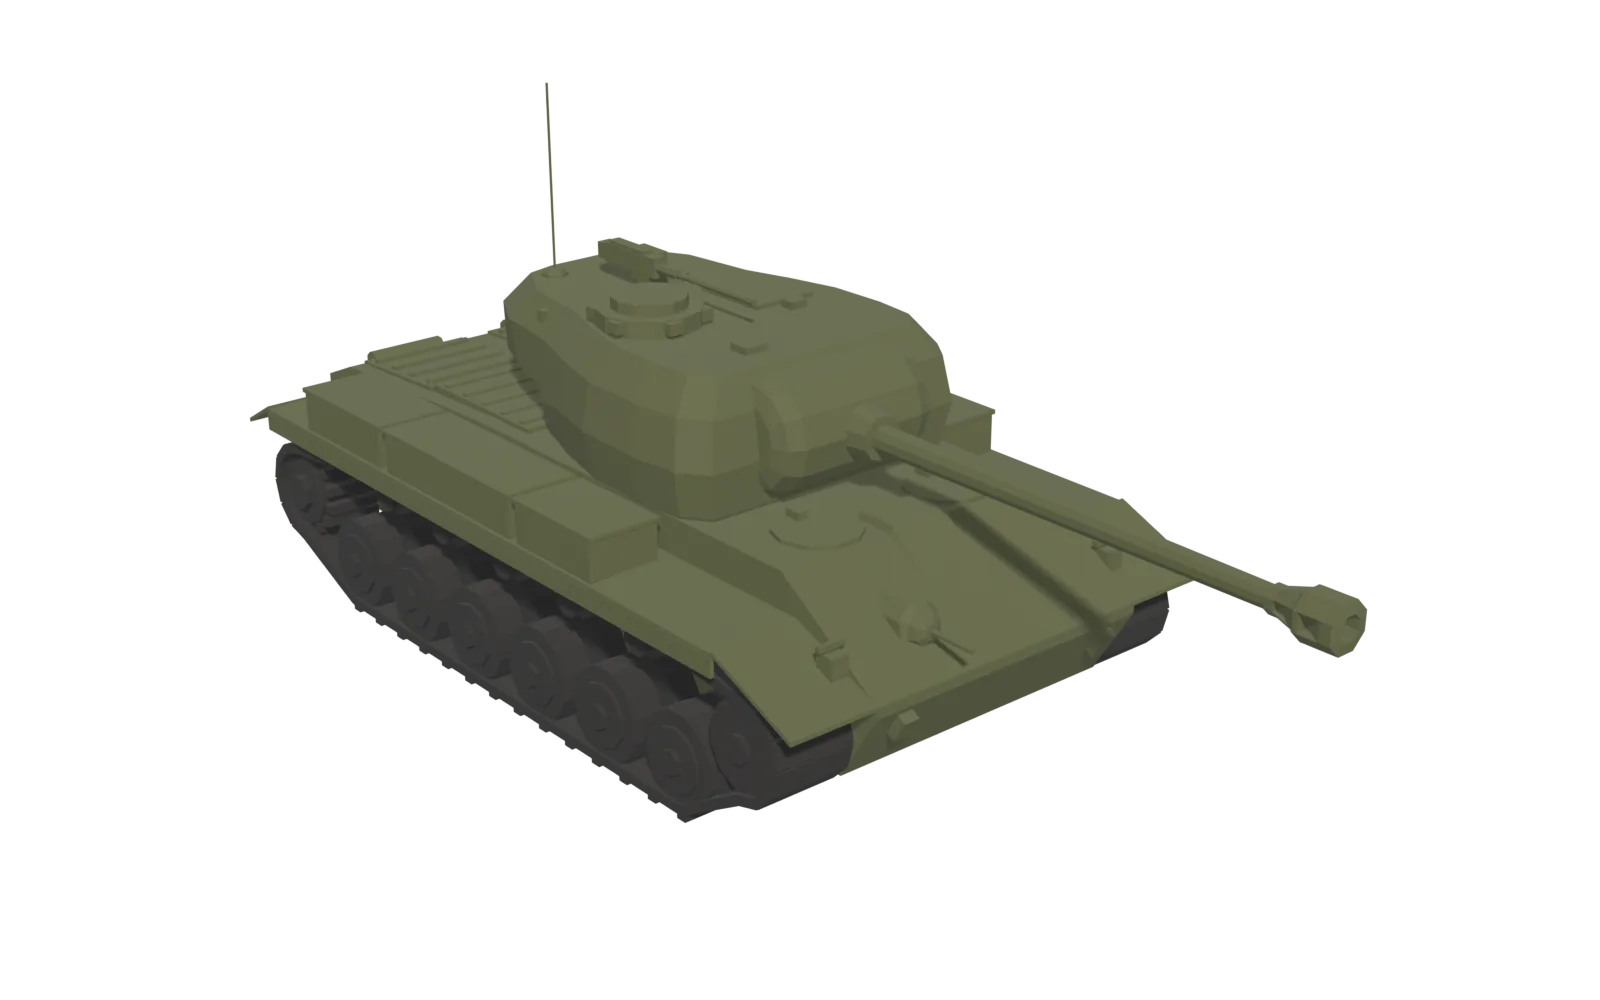
In-game model: 8.7 m long (gun included) × 3.52 m wide × 2.79 m high (antenna excluded), 6,458 triangles, built at true scale.
Images
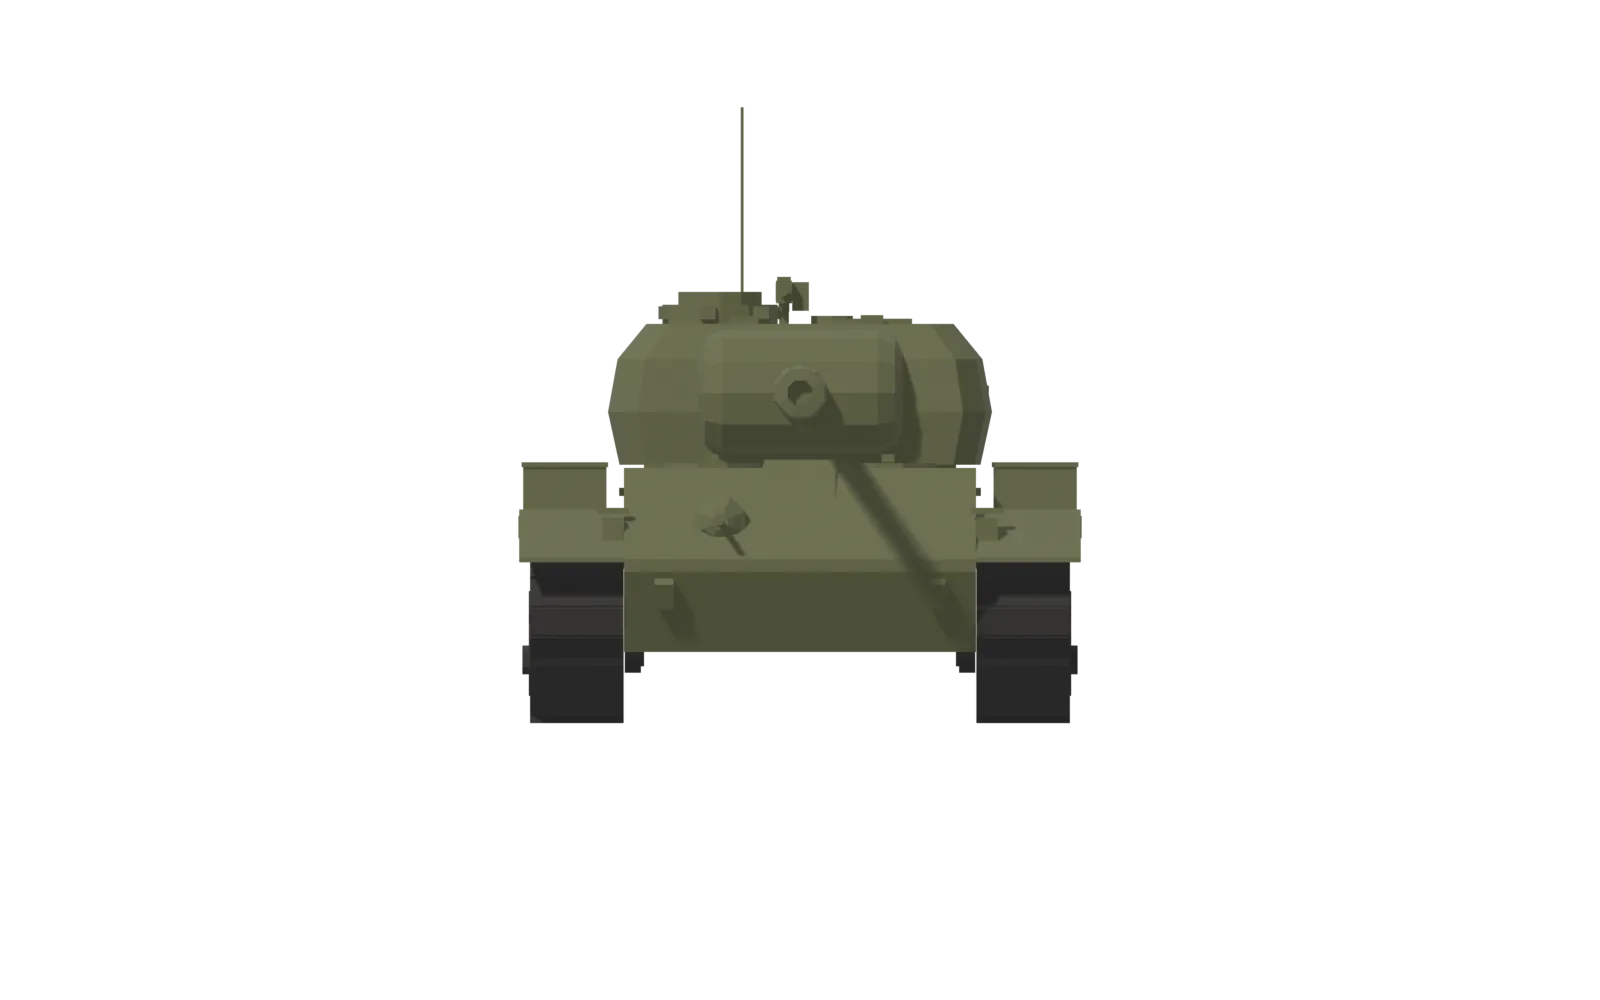
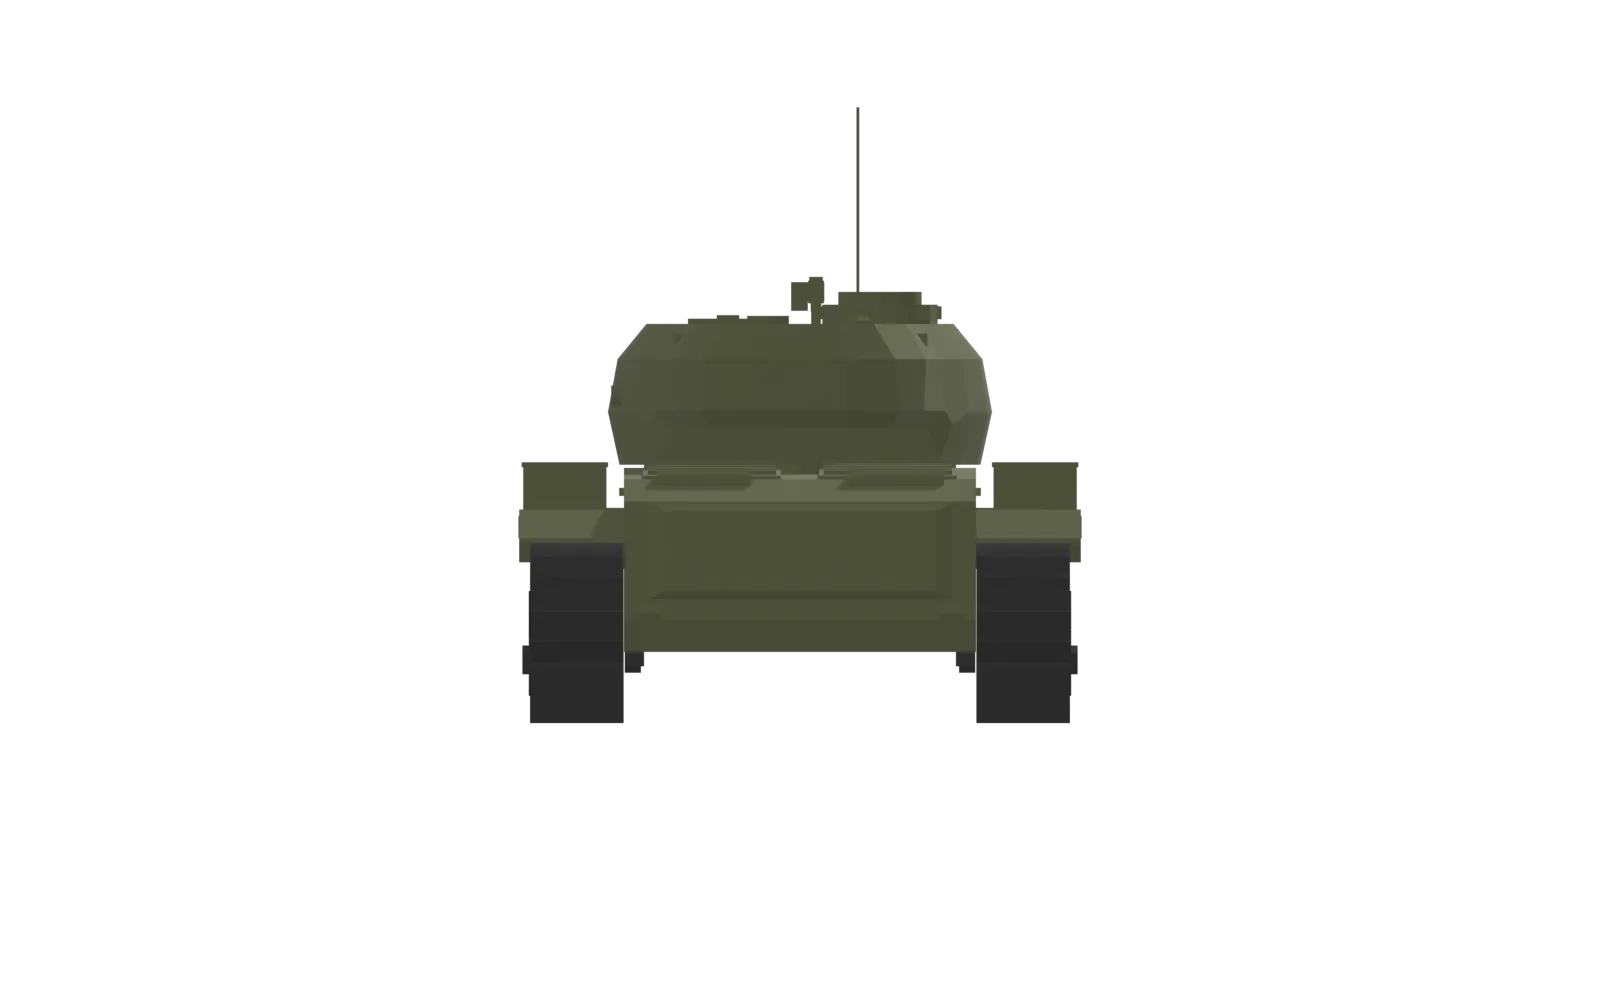
Renders of the in-game model in a plain nation colour (the game paints its camouflage at runtime).